Spotting a Lemon: Key Under-the-Bonnet Checks Before Buying a Used Car in the UK
The thrill of buying a used car is undeniable. A new set of wheels, the promise of adventures, and often a significant saving over buying new. However, lurking beneath that shiny paintwork and recently valeted interior can be a costly secret: a 'lemon'. Nobody wants to drive away with a car that's destined for the garage and an empty bank account. While a professional pre-purchase inspection is always advisable, there's a great deal you can do yourself to assess a vehicle's health before you even take it for a test drive.
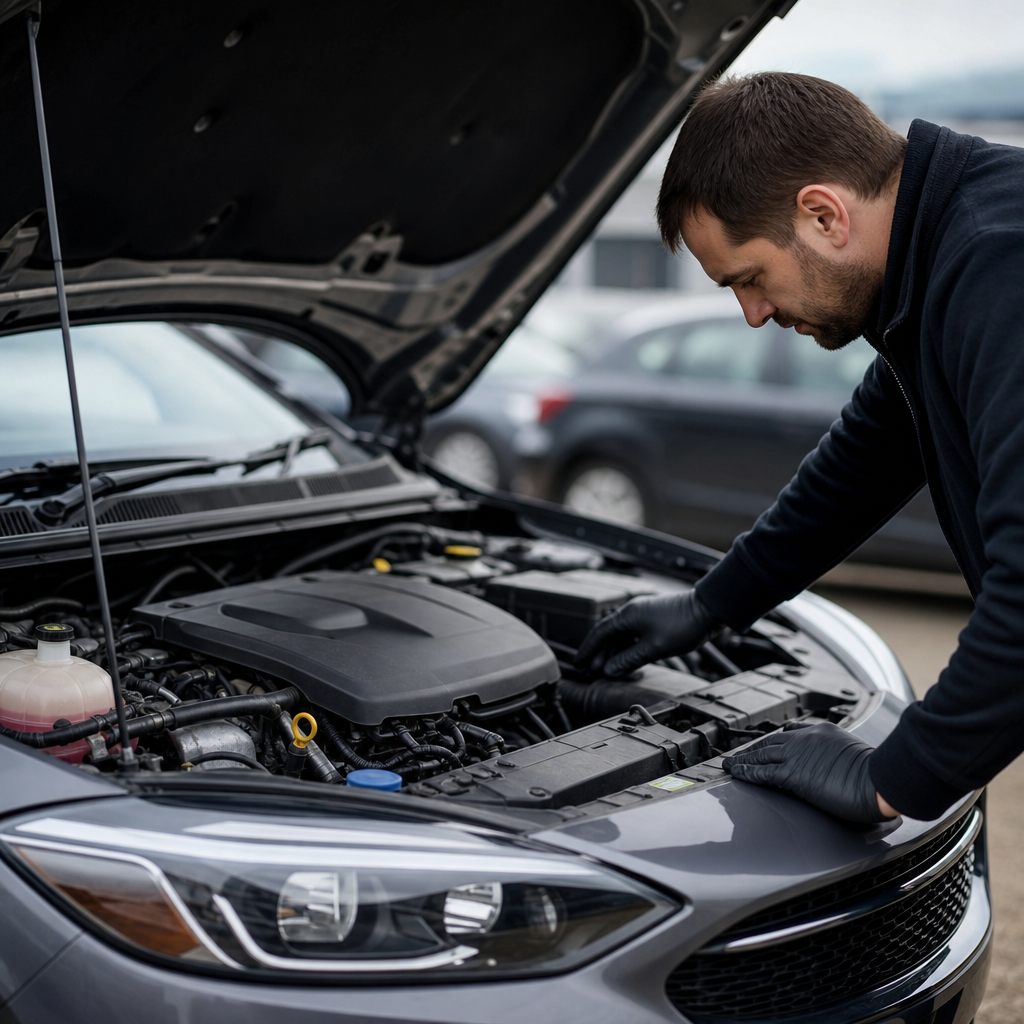
The engine bay, or 'under the bonnet' as we say in the UK, is the heart of any car. It’s where many tell-tale signs of neglect, wear, or even hidden damage reside. You don’t need to be a seasoned mechanic to perform these checks; just a keen eye and a practical approach will put you in a much stronger negotiating position, or better yet, help you walk away from a potential money pit. Let's lift the bonnet and delve into the critical areas to inspect.
The Lifeblood: Checking Fluids
Just like a human body, a car relies on various fluids to operate correctly. Their level, colour, and consistency can reveal a great deal about a car's maintenance history and current health. Always try to check fluids when the engine is cold and on level ground for the most accurate readings.
Engine Oil: Locate the dipstick (often with a brightly coloured handle, usually yellow or orange). Pull it out, wipe it clean, reinsert it fully, then pull it out again. The oil level should be between the 'min' and 'max' marks. Crucially, examine the oil's condition:
- Colour: While it will be dark, it shouldn't be sludgy black or gritty. Very dark oil can indicate overdue oil changes.
- Consistency: It should feel smooth, not watery or gritty.
- Contaminants: Look for a milky, frothy, or creamy residue on the dipstick or under the oil filler cap. This is a major red flag, often indicating a failed head gasket allowing coolant to mix with the oil – an expensive repair. Also, sniff for a strong smell of petrol, which can signify internal engine issues.
Coolant (Antifreeze): Find the expansion tank (usually a translucent plastic reservoir). The coolant level should be between the 'min' and 'max' lines.
- Colour: Coolant comes in various colours (green, pink, blue, orange) but should be clear and vibrant, not rusty brown or murky. A rusty colour indicates old coolant that hasn't been changed, leading to potential corrosion.
- Film: Check for any oily film on the surface of the coolant. Again, this points towards a possible head gasket failure.
Brake Fluid: This reservoir is usually smaller, often near the driver's side of the bulkhead.
- Level: Should be between 'min' and 'max'.
- Colour: New fluid is clear or light amber. If it's dark brown or black, it's old and requires changing, potentially compromising braking efficiency and damaging components. Low brake fluid, without a corresponding warning light (or with), needs investigation as it could indicate a leak or severely worn brake pads.
The Unsung Heroes: Belts and Their Condition
Belts are essential for driving various engine accessories and, in some cases, the engine's internal timing.
Auxiliary Belts (Fan/Serpentine Belts): These are the visible belts that wrap around pulleys at the front of the engine, driving components like the alternator, power steering pump, air conditioning compressor, and sometimes the water pump.
- Visual Check: With the engine off and cold, inspect them closely for cracks, fraying, missing ribs, or excessive shine (glazing). A glazed belt often indicates slippage and can lead to a squealing noise, especially on start-up or when turning the steering wheel. Any significant damage suggests imminent failure.
Timing Belt (Cambelt): This is arguably the most critical belt in many modern engines. It synchronises the crankshaft and camshaft(s). Its failure is catastrophic, leading to bent valves, piston damage, and often a completely destroyed engine – a repair that can easily exceed the value of a used car.
- Inspection: The timing belt is usually hidden behind plastic covers, so direct visual inspection isn't possible for a buyer.
- Service History is Key: This is where paperwork is paramount. Look for a record of the timing belt replacement. Manufacturers specify replacement intervals based on mileage (e.g., every 60,000 to 100,000 miles) or age (e.g., every 5-7 years), whichever comes first. If there's no clear evidence of replacement within the recommended interval, factor in the immediate cost of a new timing belt kit (which often includes tensioners and idlers, and sometimes a water pump) – this can be anywhere from £300 to over £1000 depending on the car.
Powering Up: Battery Health and Connections
A car battery's primary job is to provide power to start the engine and run the electrical systems when the engine isn't running.
- Physical Condition: Look at the battery case itself. There shouldn't be any bulging, cracks, or signs of leaking electrolyte.
- Terminals and Cables: The battery terminals (positive and negative posts) should be clean and tight. Excessive white or blue powdery corrosion indicates a poor connection or an overcharging issue, both of which can lead to starting problems. Ensure the cables are securely clamped to the terminals and are not frayed or damaged.
- Age: Many batteries have a date sticker. If it's older than 4-5 years, it might be nearing the end of its life. While not a deal-breaker, it's a potential cost to consider.
- Signs of Trouble: If the engine struggles to turn over, or if you notice dim lights when trying to start, the battery might be weak.
The Unwelcome Surprises: Leaks, Corrosion, and Repair Clues
This is where a little detective work pays off. Get a good torch (flashlight) and inspect thoroughly.
Leaks:
- Look underneath the car for fresh puddles, drips, or stains on the ground.
- Inside the engine bay, check around the base of the engine, transmission, and all fluid reservoirs.
- Different fluid colours mean different things:
- Black/Brown: Usually engine oil or possibly old transmission fluid.
- Green/Pink/Blue/Orange: Coolant.
- Red: Often transmission fluid or power steering fluid.
- Clear: Could be water from the air conditioning system (normal on a warm day) or a very minor leak.
- Pay attention to the smell too – burning oil has a distinctive odour. Any fresh leak, regardless of type, warrants investigation.
Corrosion/Rust:
- Surface Rust: On exposed components like exhaust pipes or some suspension parts is common and often superficial.
- Deep/Structural Rust: This is a major red flag. Look for flaky, bubbling, or perforating rust on the car's chassis rails, suspension mounting points, brake lines, or around the inner wings. Significant structural rust can lead to MOT failures and be extremely expensive, if not impossible, to repair safely.
Signs of Accident Repair: A well-repaired car isn't necessarily a bad buy, but undisclosed significant accident damage can indicate deeper issues or structural compromises.
- Mismatched Paint/Overspray: Look for variations in paint colour between panels, or paint overspray on rubber seals, hoses, or wiring within the engine bay.
- Panel Gaps: Check for uneven or unusually large gaps between the bonnet and wings, or between the wings and doors.
- New vs. Old Components: Are some bolts or fasteners shiny and new in an otherwise dirty engine bay, especially on structural components? This can indicate recent replacement following an impact.
- Bent or Creased Metal: Look for any ripples, creases, or signs of metal being straightened in areas that should be smooth, like the inner wings or chassis legs.
Connections and Conduits: Hoses and Wiring
These often-overlooked components are crucial for the reliable operation of your car.
Hoses:
- Coolant Hoses: Squeeze the main radiator hoses (top and bottom) when the engine is cold. They should be firm but pliable, not rock-hard (indicating overpressure from a failing head gasket or block), or mushy/cracked (indicating perishing rubber).
- Other Hoses: Check all other visible rubber hoses (fuel lines, vacuum lines, brake booster hose) for cracks, perishing, swelling, or loose connections. Brittle or splitting hoses are a breakdown waiting to happen.
Wiring Looms:
- Integrity: Inspect wiring looms for any exposed wires, frayed insulation, or amateurish-looking repairs (e.g., wires twisted together with electrical tape).
- Routing: Ensure wiring is neatly routed and secured, not dangling loose or rubbing against hot engine parts or moving components. Poorly routed or damaged wiring can lead to perplexing electrical faults, short circuits, and even fire hazards.
Conclusion
Taking the time to perform these under-the-bonnet checks can be the difference between a fantastic used car purchase and a costly nightmare. You don't need to be a professional mechanic, but a methodical approach and a willingness to get a little bit dirty will pay dividends.
Remember, if something doesn't look or feel right, or if the seller is evasive about maintenance history, it's wise to either walk away or invest in a comprehensive professional inspection from a reputable organisation like the AA or RAC. A little bit of diligence now can save you hundreds, if not thousands, of pounds and countless headaches down the road. Happy hunting for your next reliable ride on CarsLink.ai!