Beyond the Oil Change: Essential DIY Maintenance for Your Used UK Motorcycle
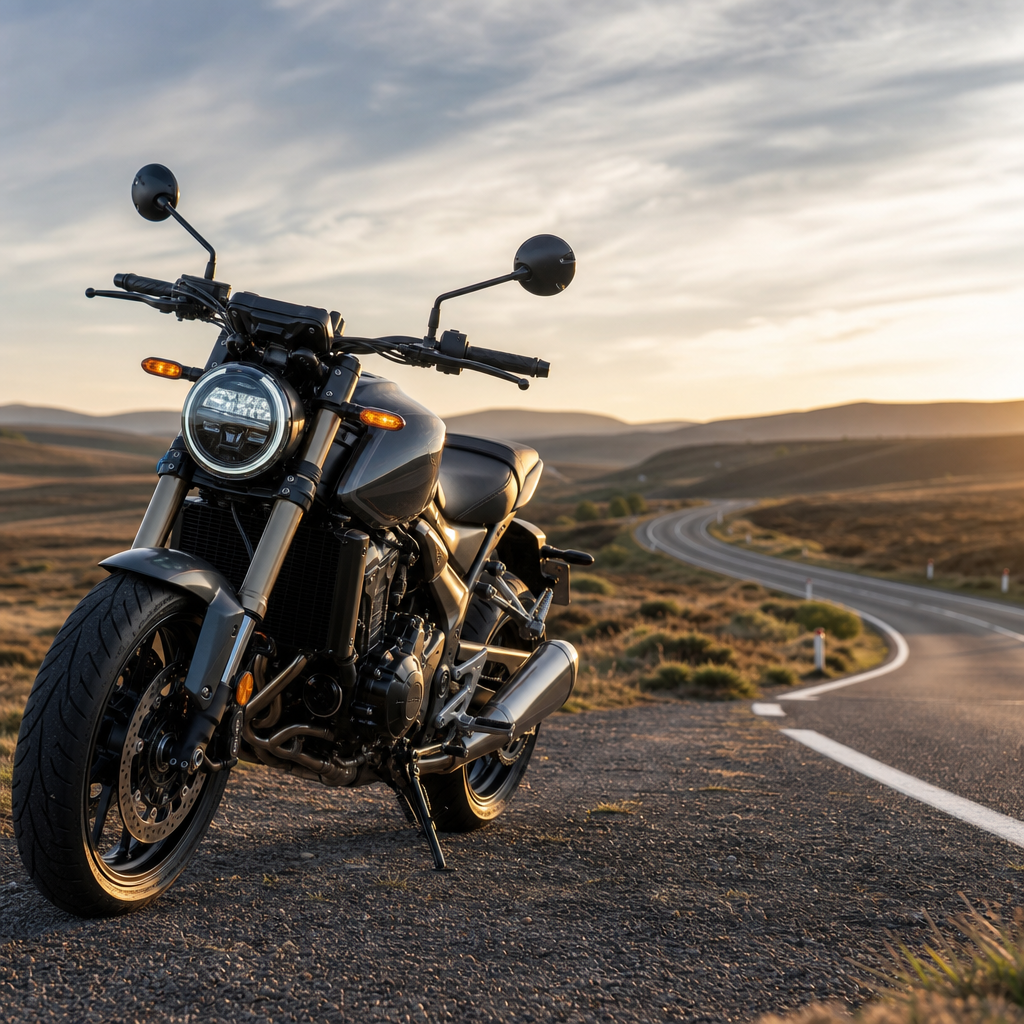
There’s an undeniable thrill that comes with straddling your motorbike, hitting the starter, and feeling the engine rumble to life. Whether you’re commuting through city streets, carving up country lanes, or embarking on a grand tour, a motorcycle offers a unique sense of freedom that cars simply can’t match. For many UK riders, especially those who’ve invested in a used machine, that bond deepens when you take a hands-on approach to its upkeep.
Beyond the regular garage service, basic DIY maintenance isn't just about saving a few quid; it’s about understanding your bike, ensuring its reliability, and crucially, enhancing your safety on the road. A well-maintained motorcycle is a happy motorcycle, and a happy motorcycle is a safer, more enjoyable one to ride. In this guide, we’ll delve into the essential home maintenance tasks every UK rider of a used bike should be comfortable tackling, helping you get the most out of your two-wheeled companion.
Kitting Out Your Home Workshop: Essential Tools & Safety
Before you start twirling spanners, it’s vital to equip yourself with the right gear. Think of it as investing in your riding pleasure and safety. You don't need a professional workshop, but a few key items will make a world of difference.
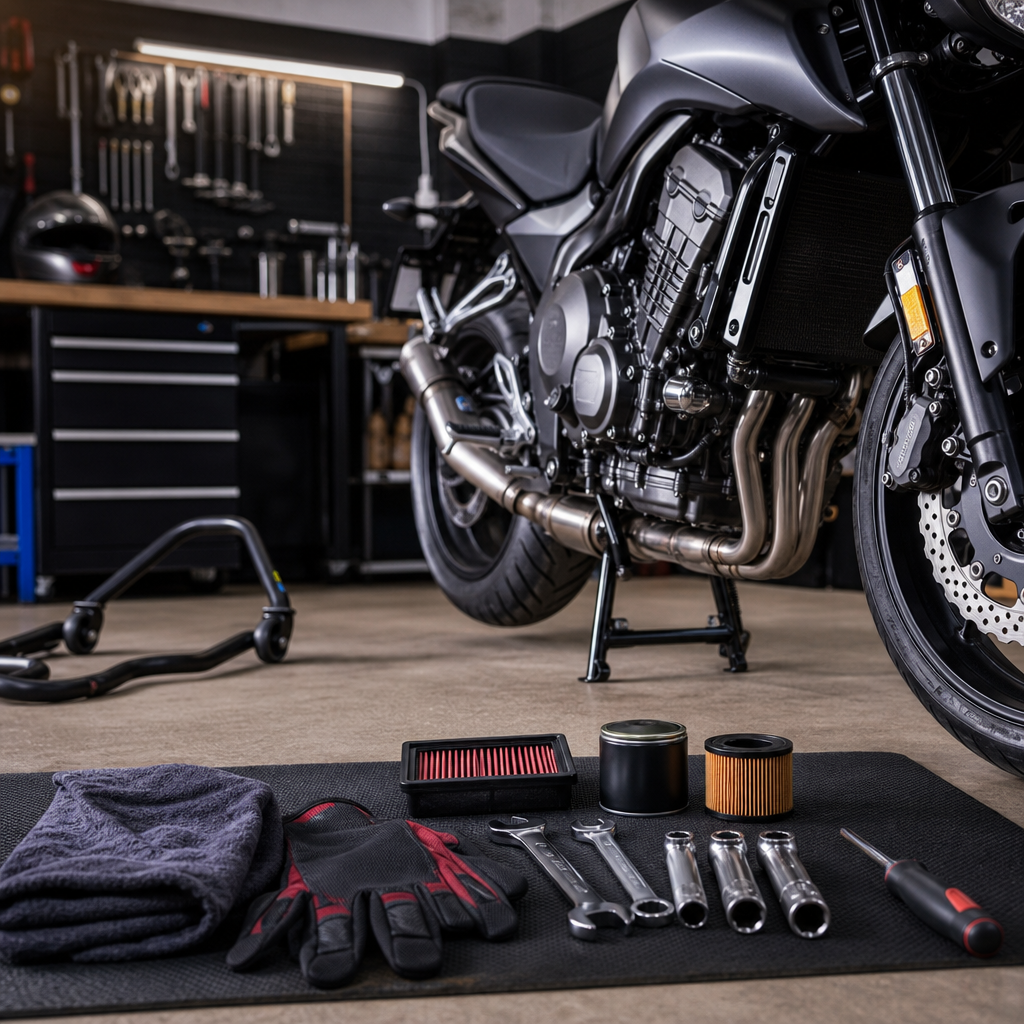
The Essential Tool Kit:
- Metric Spanner & Socket Set: Most modern bikes use metric fasteners. A good quality set, including various sizes of sockets, combination spanners, and a ratchet, is indispensable.
- Allen Key Set: Crucial for numerous bolts on fairings, controls, and engine components.
- Screwdrivers: Both Phillips and flathead, in various sizes.
- Pliers: Combination pliers and needle-nose pliers will come in handy for many tasks.
- Torque Wrench: Absolutely critical for tightening fasteners to the manufacturer’s specified torque settings. Overtightening can strip threads, and undertightening can lead to parts falling off – neither is ideal.
- Tyre Pressure Gauge: A reliable digital or analogue gauge is far more accurate than those at petrol stations.
- Chain Brush & Lubricant: Essential for keeping your chain in top condition.
- Workshop Manual: This is your bible. Invest in a Haynes or official manufacturer’s manual for your specific make and model. It contains torque settings, fluid capacities, service intervals, and step-by-step guides.
- Rear Paddock Stand: Lifts the rear wheel off the ground, making chain maintenance, rear tyre checks, and wheel cleaning much easier and safer.
- Measuring Tape/Ruler: For checking chain slack and other dimensions.
- Funnel: For mess-free fluid topping up.
- Multimeter: Useful for basic electrical fault finding, checking battery voltage, and continuity.
Safety First:
- Gloves: Nitrile or mechanic’s gloves protect your hands from grease, chemicals, and minor scrapes.
- Safety Glasses: Always wear eye protection when working with tools, spraying lubricants, or cleaning.
- Good Lighting: A head torch or a bright portable lamp will illuminate your workspace.
- Ventilation: Ensure you’re working in a well-ventilated area, especially when using cleaning solvents or aerosol lubricants.
- Fluid Disposal: Have containers ready for used oil and other fluids. Never pour them down the drain; take them to your local recycling centre.
Your Weekly Ride Check: Crucial Checks for Every Rider
Even if you’re not planning a major service, a quick 'TLC' (Tyres, Lights, Chain) check before every significant ride, or at least weekly, can preempt problems and keep you safe.
1. Tyres: Your Only Contact Patch
- Pressure: This is paramount. Check tyre pressures when they are cold, using your reliable gauge. Refer to your bike’s owner’s manual or the sticker on the swingarm for the correct front and rear pressures. For example, a common sports tourer might specify 36psi front and 42psi rear. Incorrect pressure affects handling, grip, and tyre wear.
- Tread Depth: The UK legal minimum tread depth is 1mm across three-quarters of the tread width, continuously around the circumference. However, for optimum grip, especially in wet conditions, more tread is always better. Look for the moulded tread wear indicators; if the tread is flush with these, it's time for new rubber.
- Condition: Inspect the entire tyre for cuts, cracks, bulges, embedded nails or stones, and uneven wear patterns. Pay particular attention to the sidewalls.
2. Chain Tension & Lubrication: Power Delivery
- Tension: The chain should have a specific amount of slack. Consult your manual for the exact measurement (typically 20-30mm of free play, measured midway between the sprockets). Too tight can strain bearings and cause premature wear; too loose can lead to the chain jumping or even coming off.
- Lubrication: Clean your chain regularly with a dedicated chain cleaner and a brush to remove grime. Once clean and dry, apply a good quality chain lube sparingly to the inside of the chain (where it meets the sprockets) after a ride when the chain is warm, allowing it to penetrate. Spin the wheel to distribute it evenly.
- Sprockets: While checking the chain, inspect the sprocket teeth. They should be relatively symmetrical. If they are hooked or pointed, it's a sign of significant wear, and the chain and sprockets should be replaced as a set.
3. Fluid Levels: The Lifeblood of Your Machine
- Brake Fluid: Check the reservoirs (usually on the handlebars and near the rear brake pedal). The fluid level should be between the 'min' and 'max' lines. The fluid itself should be clear or a light amber colour. If it looks dark brown or black, it’s absorbed water and needs changing by a professional, as it can compromise braking performance.
- Coolant: On liquid-cooled bikes, check the coolant reservoir level when the engine is cold. It should be between the 'min' and 'max' marks. Use the specific type of coolant recommended by your manufacturer.
- Engine Oil: The procedure varies by bike (dipstick or sight glass, warm or cold engine, on side stand or upright). Always follow your owner’s manual. Ensure the level is correct; both overfilling and underfilling can cause engine damage.
4. Lights & Electrics: Be Seen, Be Safe
- Functionality: Systematically check your headlight (dip and main beam), tail light, brake lights (operate both front and rear brakes), indicators, and horn. Ensure they are all working correctly.
- Cleanliness: Keep your light lenses clean for maximum visibility.
Knowing Your Limits: DIY vs. Professional Mechanic
While the satisfaction of doing it yourself is immense, it's vital to recognise when a job is beyond your skill level or requires specialist tools. Safety should always be your top priority.
What You Can Confidently Tackle:
- All the 'weekly ride checks' mentioned above.
- Oil and filter changes (ensure proper disposal of used oil).
- Air filter inspection and replacement.
- Spark plug checks and replacement.
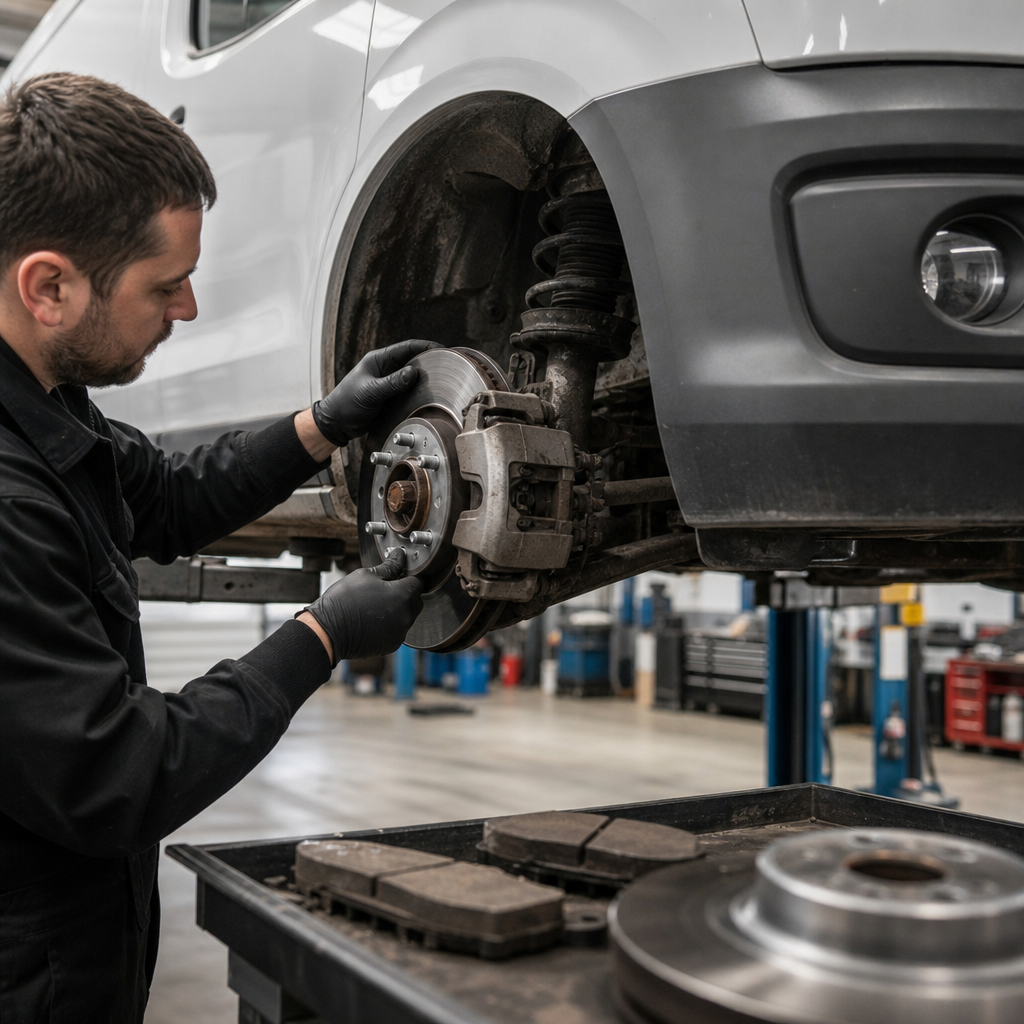
- Brake pad inspection and replacement (if you’ve watched guides, have the right tools, and understand the critical nature of this component).
- Minor cable adjustments (clutch, throttle play).
- Cleaning and basic lubrication of levers and pivots.
When to Call a Professional Mechanic:
- Engine Work: Anything beyond basic fluid/filter changes, such as valve clearance adjustments, carburettor synchronisation, or engine rebuilds, is best left to experienced hands.
- Suspension Overhauls: Fork seal replacement, shock rebuilding, or suspension tuning requires specialist knowledge and tools.
- Brake System Bleeding/Fluid Changes: While some DIYers tackle this, if you're not 100% confident in completely bleeding the system, it's safer to have a professional do it. Brakes are non-negotiable for safety.
- Complex Electrical Faults: Diagnosing intermittent electrical gremlins often requires specific diagnostic equipment and expertise.
- Tyre Fitting: Unless you have a tyre changer and balancer, fitting new tyres is a job for a professional.
- Major Services: Your owner's manual will outline major service intervals (e.g., 8,000 miles, 16,000 miles). These often involve in-depth checks and adjustments best performed by a qualified technician.
- If in Doubt: If you feel overwhelmed, unsure, or lack the correct tools for any task, don't guess. It’s far better to pay a professional than to risk damage to your bike or, more importantly, your safety.
The MOT Advantage: DIY Maintenance & Pass Rates
Regular DIY maintenance isn't just about smooth running; it’s your secret weapon for sailing through the annual MOT test. Many common MOT failures are entirely preventable with basic checks and proactive maintenance.
Direct Impact on Your MOT:
- Tyres: Incorrect pressure, insufficient tread depth, or visible damage are prime MOT failure points. Your weekly checks will catch these.
- Lights: A blown bulb, a faulty brake light switch (front or rear), or misaligned headlights will result in an MOT fail. A quick visual check sorts this.
- Brakes: Worn pads, low fluid, or spongy levers are obvious issues. Regularly inspecting pads and fluid levels can save you an MOT re-test.
- Chain & Sprockets: Excessive wear or incorrect tension can fail the bike.
- Steering & Suspension: Checking for play in wheel bearings, headstock bearings, and suspension linkages might seem advanced, but a gentle wobble test can often reveal issues early.
- Exhaust System: Ensure it's secure, not excessively loud, and free from leaks.
- Horn: A non-functioning horn is a simple MOT fail.
By diligently performing your DIY checks, you're not just ensuring your bike is roadworthy; you're significantly increasing its chances of passing the MOT first time. This saves you the hassle and cost of re-tests and avoids unexpected repair bills just before your certificate expires. It transforms the MOT from a dreaded event into a mere formality.
Conclusion
Embracing DIY maintenance for your used UK motorcycle is a rewarding journey. It's an opportunity to forge a deeper connection with your machine, understand its mechanics, and take proactive steps to ensure its longevity and your safety. From the simple act of checking tyre pressures to confidently replacing brake pads, every task you master builds your confidence and enhances your riding experience.
Start small, consult your workshop manual religiously, and don't be afraid to ask for advice from experienced riders or mechanics. Your bike is more than just transport; it's a companion, an adventure machine. Treat it well, understand its needs, and it will repay you with countless miles of exhilarating, reliable, and safe riding on the open road.