Gear Up, Ride Out: Essential Pre-Trip Checks for Your Used UK Touring Motorcycle
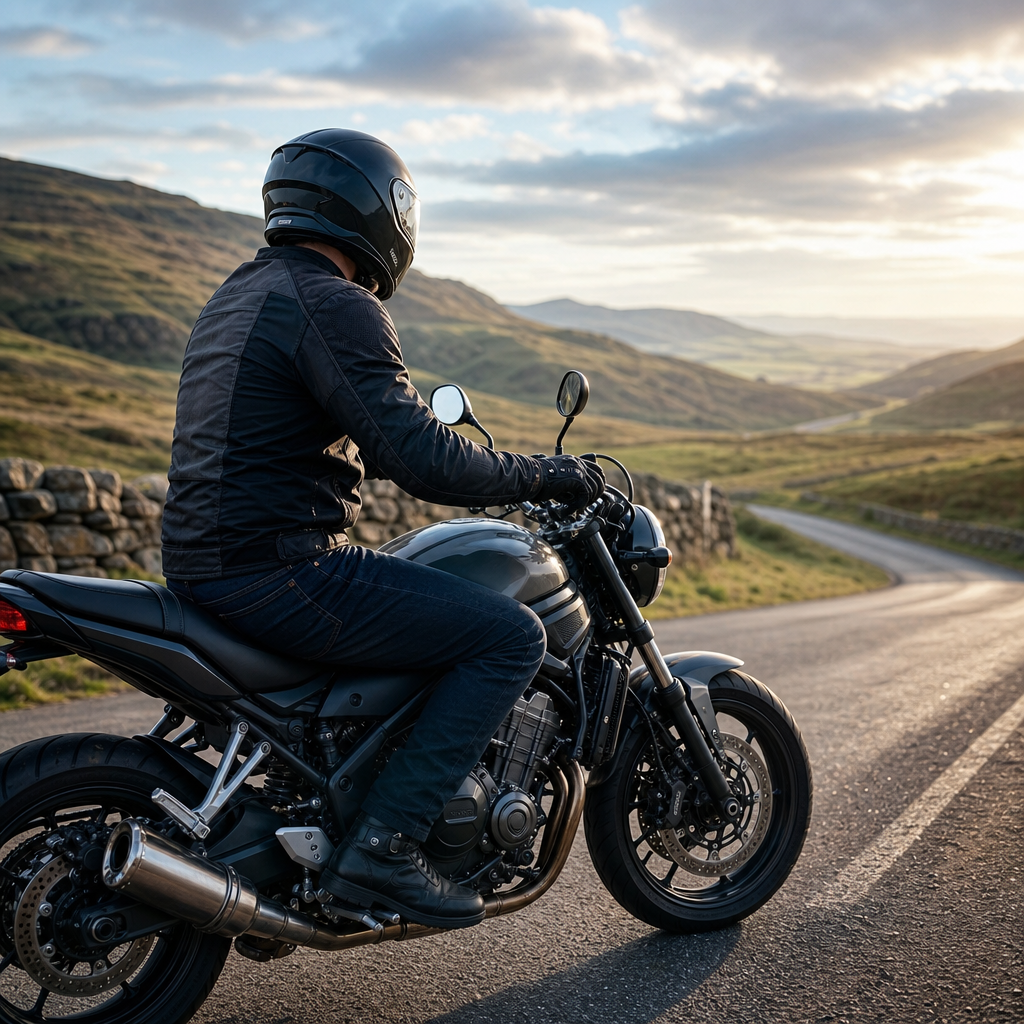
The open road, the rumble of the engine, and the stunning scenery of the UK unfolding before you – there’s little that compares to the freedom of motorcycle touring. From the winding B-roads of the Scottish Highlands to the coastal routes of Cornwall, our island offers an incredible backdrop for two-wheeled adventures. But before you swing a leg over and point your used touring machine towards the horizon, a thorough pre-trip inspection is not just recommended; it’s absolutely essential.
Even a well-maintained used motorcycle can hide niggles that only reveal themselves on a long journey, far from the nearest breakdown service. These proactive checks aren't just about avoiding an inconvenient breakdown; they're about ensuring your safety and maximising your enjoyment. A prepared bike is a happy bike, and a happy bike makes for an unforgettable journey. Let's delve into the crucial areas you need to inspect before hitting the road.
Tyre Tactics: Your Primary Contact with the Road
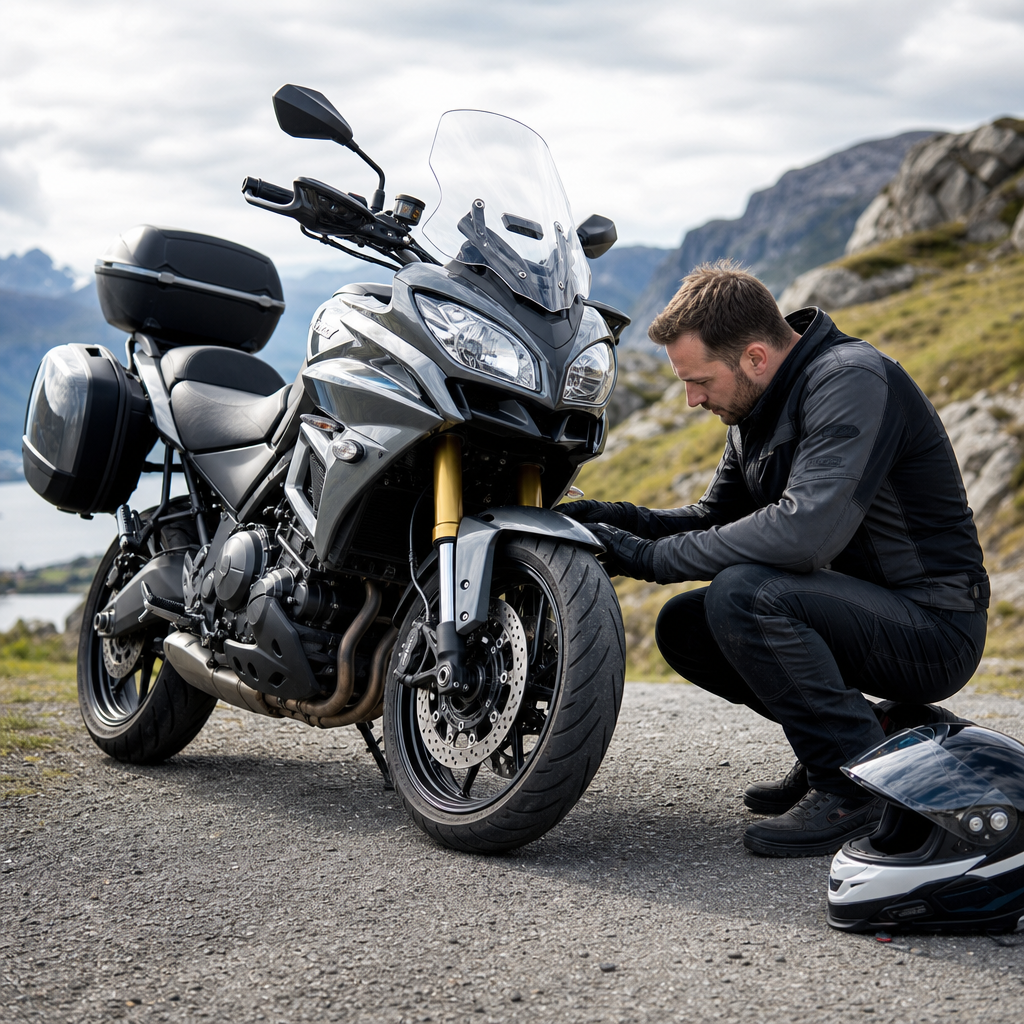
Your tyres are the only part of your motorcycle in contact with the Tarmac, making their condition paramount. A tyre failure at speed is a serious incident, so this check should be meticulous.
Firstly, perform a comprehensive visual inspection. Look for any cuts, bulges, cracks, or signs of dry rot on the sidewalls and tread. Embedded objects like nails or screws, even if not yet causing a puncture, are ticking time bombs. Rotate the wheel slowly, examining the entire surface of both front and rear tyres. Check the valve stems for cracks or damage, and ensure the valve caps are present and secure; they do more than just keep dirt out – they help maintain pressure.
Secondly, and critically, check your tyre pressures when the tyres are cold. Correct pressure is vital for safe handling, optimal braking performance, and tyre longevity. Refer to your motorcycle’s owner’s manual or the sticker often found on the swingarm or chain guard. For touring with a pillion or heavy luggage, manufacturers often recommend a slightly higher pressure, so be sure to adjust accordingly. An accurate tyre pressure gauge is a must-have item in your garage.
Finally, assess your tread depth. The legal minimum tread depth in the UK for motorcycles over 50cc is 1mm across at least three-quarters of the breadth of the tread and around the entire circumference. While 1mm is the legal minimum, it’s not necessarily safe for touring, especially given the unpredictable UK weather. Deeper tread offers better grip in wet conditions. Use a tread depth gauge to get an accurate reading, and if you’re nearing the legal limit, consider replacing them before your trip to avoid unnecessary risks or fines.
Fluids and Foundations: The Heart of Your Ride
Just as important as your tyres are the essential fluids and foundational components that keep your engine and drivetrain running smoothly. A quick check here can prevent major mechanical headaches.
Start with the engine oil. On a level surface and after the engine has cooled (or as per your specific bike's manual, some bikes need to be warm), check the oil level using the dipstick or sight glass. Ensure the level is between the 'min' and 'max' markers. If it's low, top it up with the correct grade and type of oil specified by your manufacturer. While you’re at it, look for any signs of leaks around the engine casing or sump plug.
Next, move to the brake fluid. Check the levels in both the front and rear brake fluid reservoirs. They should be within the 'min' and 'max' lines. The fluid should also appear relatively clear; a dark, cloudy fluid could indicate contamination or old fluid, suggesting a flush might be due soon, but for a pre-trip check, ensure the level is correct. Do the same for your coolant reservoir if your touring bike is liquid-cooled, ensuring it’s between the specified marks.
Finally, dedicate some time to your chain (if your bike has one). First, clean and lubricate it thoroughly; a dry chain wears faster and reduces efficiency. Then, check the chain tension. Consult your owner's manual for the correct amount of slack (usually measured at the tightest point of the chain, with the bike on its sidestand or centre stand, depending on the manufacturer). Incorrect tension can lead to excessive wear on the chain, sprockets, and gearbox output shaft, or even chain derailment. While checking tension, inspect the chain for stiff links or tight spots, and examine your sprockets for hooked or worn teeth, which indicate they need replacing.
Electrics and Illumination: See and Be Seen
In the unpredictable British climate, visibility is key, and a fully functional electrical system is non-negotiable for both your safety and that of other road users.
Go through all your lights systematically. Turn on your ignition and check your headlight (both dipped and full beam). Ensure your tail light is working, and then activate both your front and rear brake levers to confirm your brake light illuminates brightly. Don’t forget your number plate light, particularly important for nighttime riding. Give all lenses a quick wipe to ensure they're clean and free of grime.
Next, check all four indicators. They should flash at a consistent rate – a rapid flash usually signals a blown bulb or LED failure. Give your horn a quick blast to confirm it's working. While often overlooked, a working horn can be a lifesaver in an emergency.
Finally, consider your battery. If accessible, check the terminals for corrosion and ensure they are tight and secure. While a full battery health check requires specialist equipment, ensuring it's fully charged before a long trip, especially if the bike has been sitting, is a good idea. A battery maintainer or trickle charger can be a wise investment for prolonged storage. Also, pay attention to your dashboard warning lights; they should illuminate when you turn the ignition on and then extinguish as expected once the engine starts, indicating no underlying faults.
Secure Your Load: Luggage and Accessories
Touring invariably means luggage, and securing it properly is crucial for maintaining your bike’s handling characteristics and preventing potential hazards. A lost pannier or shifting weight can be disastrous.
If you’re using panniers or a top box, meticulously check that they are securely mounted to their racks. Test the latches and locking mechanisms to ensure they are fully engaged and won’t spring open on bumpy roads. Distribute weight as evenly as possible between your panniers, and try to keep heavier items low down and close to the bike’s centre of gravity to minimise impact on handling.
For tank bags or roll bags, ensure they are attached with appropriate straps or magnets and do not interfere with your steering range, handlebar controls, or mirrors. Bungee cords and cargo nets are useful for securing lighter items, but inspect them for fraying or damage, and ensure the hooks are robust and won't scratch your paintwork or come loose. Avoid over-tightening bungees, as this can compress suspension or damage items.
Before setting off on your actual tour, it’s highly recommended to do a short test ride with your fully loaded bike. This allows you to feel how the extra weight changes the bike’s handling, braking, and cornering dynamics. If you’re carrying a pillion, ensure their footpegs are deployed, adjust your rear suspension preload if your bike allows it, and brief them on how to ride as a passenger for mutual comfort and safety.
The "Just in Case" Kit: Peace of Mind Essentials
Even with the most thorough checks, unforeseen circumstances can arise. Packing a few essential items can turn a potential disaster into a minor inconvenience, offering invaluable peace of mind.
Start with a basic tool kit. While some bikes come with a rudimentary kit, supplementing it with specific Allen keys, spanners, and a screwdriver that fit your bike’s common fasteners is a smart move. A tyre repair kit (plugs, CO2 cartridges, or a mini-pump) is arguably the most vital item; a flat tyre in a remote location is no fun.
A compact first aid kit, containing essentials like antiseptic wipes, plasters, pain relievers, and bandages, is always a good idea for minor scrapes or cuts. For roadside visibility, especially in case of a breakdown, a high-visibility vest or jacket is a must, particularly for riding in the UK where weather can turn quickly.
Don't forget navigation and communication. A fully charged mobile phone is obvious, but also pack a power bank to keep it topped up. Consider downloading offline maps or even packing a physical map as a backup, especially if you’re venturing into areas with patchy signal. Finally, ensure you have copies of your essential documentation: driving licence, insurance details, breakdown cover membership, and perhaps a copy of your V5C. Tucked away fuses or a spare bulb for common lights can also be a trip-saver.
Conclusion
Embarking on a motorcycle tour across the magnificent landscapes of the UK is an experience unlike any other. However, the success and safety of that journey hinge significantly on the preparation you undertake beforehand. By dedicating time to these essential pre-trip checks – from scrutinising your tyres to assembling a comprehensive emergency kit – you’re not just performing maintenance; you’re investing in your safety, your enjoyment, and the longevity of your beloved used touring motorcycle.
These checks should become a ritual, a habit that builds confidence and minimises stress, allowing you to focus on the road ahead and the incredible adventure unfolding. So, gear up, check everything twice, and ride out with the ultimate peace of mind. The UK’s roads are calling! Find your next adventure machine and start planning your escape on CarsLink.ai today.