Beyond the Shine: Crucial Frame & Suspension Checks for Your Next Used Motorcycle
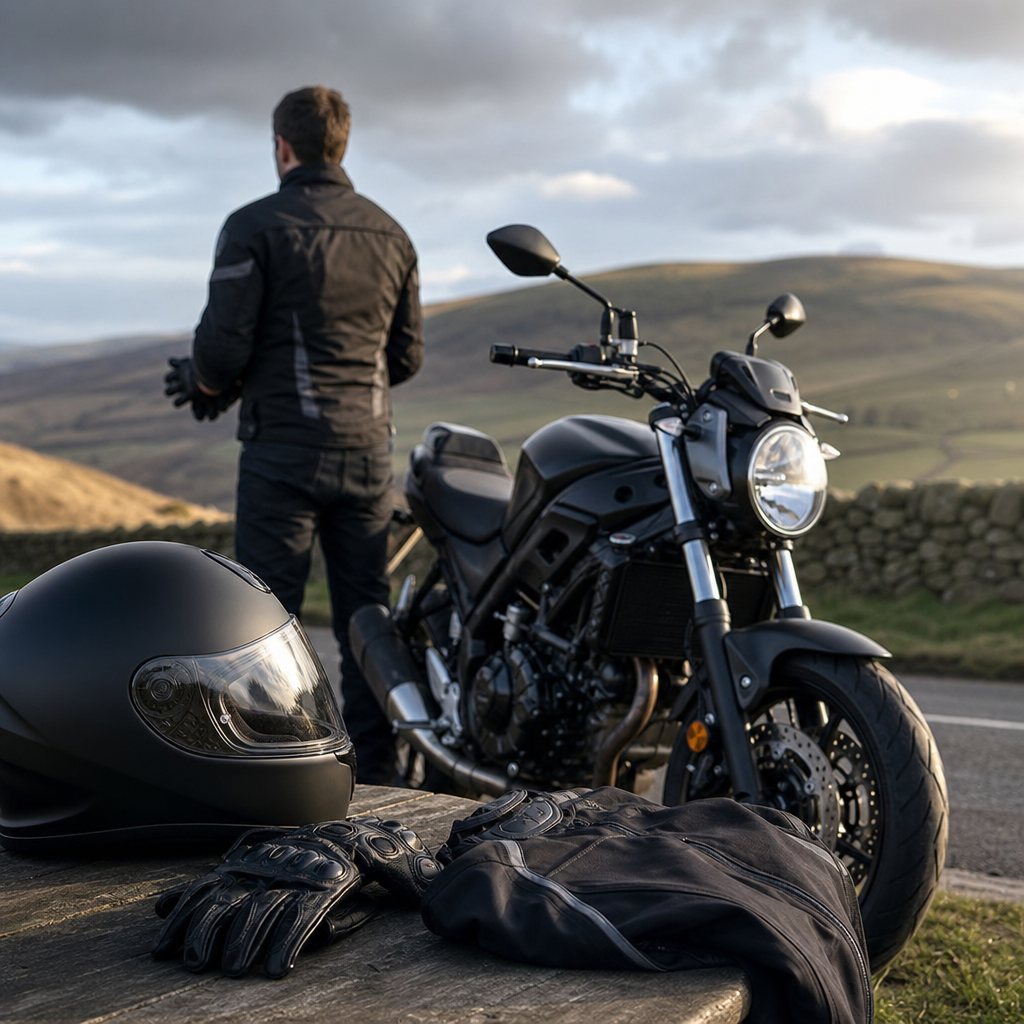
Buying a used motorcycle is an exciting prospect. The gleaming paintwork, the promise of open roads, and the roar of the engine can easily sweep you off your feet. However, beneath that enticing exterior lies the true heart of any bike: its frame and suspension. These critical components are not just about ride comfort; they are fundamental to your safety, handling, and the overall integrity of the machine. Overlooking their condition can lead to costly repairs, a compromised riding experience, or even put you in a dangerous situation.
At CarsLink.ai, we understand that an informed buyer is a happy, and safe, rider. While checking the engine, brakes, and tyres is standard practice, a thorough inspection of the frame and suspension often gets relegated to an afterthought. This article will guide you through the essential checks to ensure your next used motorcycle is structurally sound and ready for the road, not just showroom-pretty.
The Backbone: Inspecting the Frame for Integrity
The frame is the skeleton of your motorcycle, and any compromise here is a deal-breaker. A damaged frame can lead to unpredictable handling, instability, and is incredibly expensive – often uneconomical – to repair correctly.
Start with a comprehensive visual inspection. Get down on your hands and knees and look for the following:
- Bends, Cracks, and Dents: Pay close attention to high-stress areas like the headstock (where the front forks attach), engine mounts, swingarm pivot points, and around any welds. Even minor cracks can propagate and lead to catastrophic failure. Use a torch to peer into hard-to-see areas, especially under the tank and around footpeg mounts.
- Paint Condition and Repairs: Inconsistent paintwork, overspray, or areas where the paint looks different might indicate previous accident damage that’s been repaired. Factory welds are generally smooth and uniform; anything that looks amateurish, lumpy, or too clean could be a sign of a shoddy repair. Bubbling paint can also hide rust or damage underneath.
- Alignment (Basic Check): While a full alignment check requires specialist tools, you can perform a basic visual assessment. Stand behind the bike, crouch down, and visually align the front and rear wheels. They should form a straight line. Look for any twist in the frame or the wheels appearing to "crab walk." If you're really keen, a string line test (running string from the rear wheel around the front) can reveal more subtle misalignments.
- Crash Indicators: Look for other signs that might suggest the bike has been dropped or involved in an accident. Scraped engine casings, bent levers, scuffed exhaust cans, or cracked fairings are clues. If you find these, correlate them with the frame – check the corresponding side of the frame for impact marks or signs of repair.
- VIN Check: Always ensure the Vehicle Identification Number stamped on the frame matches the paperwork (V5C registration document). Check that the VIN plate or stamping hasn't been tampered with, ground down, or re-stamped.
Upfront Integrity: Checking the Front Forks
Your front forks are crucial for absorbing bumps, providing steering precision, and maintaining tyre contact with the road. Their condition directly impacts both safety and comfort.
- Leaks: One of the easiest and most common issues to spot is leaking fork seals. Look for oil residue on the chrome stanchions (the shiny inner tubes) or around the seals themselves, especially after compressing the forks a few times. Run a clean finger over the stanchions; any oily film indicates a leak. Leaking seals not only compromise damping but can also spray oil onto your brake callipers, creating a very dangerous situation.
- Stanchion Condition: Carefully inspect the chrome stanchions for pitting, rust, or deep scratches. Any imperfections here will quickly damage new seals, making a repair pointless until the stanchions are replaced or re-chromed – an expensive job. Small stone chips are common, but anything that feels rough to the touch is a red flag.
- Straightness: Stand directly in front of the bike and observe the forks. Are they parallel? Crouching down can help you judge this. Also, view them from the side; they should be perfectly straight, not bowed forward, which can happen in a frontal impact. A bent fork leg means significantly compromised handling and safety.
- Action and Damping: With the bike on its wheels, firmly push down on the handlebars several times. The forks should compress smoothly and rebound without excessive bouncing. Listen for any clunking noises, which could indicate worn bushings or insufficient oil. The rebound should be controlled, not like a pogo stick.
- Axle Clamps: Check the lower fork legs (axle clamps) for cracks or signs of impact damage. These are critical for holding the front wheel securely.
Rear End Reliability: Assessing the Rear Shock Absorber
Often neglected, the rear shock absorber is just as important as the front forks for maintaining stability, traction, and rider comfort.
- Leaks: Similar to the front forks, inspect the rear shock for oil leaks. Look for oil around the main body of the shock, particularly where the shaft enters the body. On bikes with remote reservoirs, check the lines and reservoir for leaks too.
- Spring Condition: Examine the spring for signs of rust, cracked paint, or even cracked coils (rare, but serious). Excessive rust can weaken the spring. Check if the spring appears compressed or sagging excessively when the bike is off its stand – this could indicate a worn-out spring or damping unit.
- Damping Action: Push down firmly on the rear of the bike (the pillion seat or grab handle). The shock should compress smoothly and then rebound to its original position without oscillating. If it bounces more than once or twice, the damping is likely compromised and the shock will need rebuilding or replacing.
- Mountings and Linkages: Inspect all mounting bolts for the shock absorber and any linkage systems (common on sportbikes and tourers). Check for corrosion, tightness, and wear. Any play in the linkages can lead to imprecise handling and a vague feeling from the rear end. Gently try to rock the rear wheel side-to-side – excessive movement could indicate worn swingarm bearings or linkages.
- Adjusters: If the shock has preload, rebound, or compression adjusters, check if they turn freely. Seized adjusters mean you can't tailor the suspension to your weight or riding style, and often suggest a lack of maintenance.
The Feel of Control: Steering Head Bearings
The steering head bearings allow your handlebars to turn smoothly, connecting the front end to the frame. Worn or damaged bearings can lead to vague steering, head shakes, and a dangerous lack of control.
- Testing for Play: This test requires the front wheel to be off the ground. With the bike securely on a centre stand or paddock stand, grasp the bottom of the fork legs and try to push and pull them forwards and backwards (along the bike's length). Any noticeable clunking or movement, even a subtle one, indicates play in the bearings.
- Testing for Notched Movement: Again, with the front wheel raised, slowly turn the handlebars from full left lock to full right lock. The movement should be smooth, fluid, and effortless throughout the entire range. If you feel any "notches," stiffness, or resistance at specific points (often in the straight-ahead position), the bearings are worn and need replacing. This is a classic symptom of pitted bearings.
Worn steering head bearings are a safety critical issue. They can make the bike feel unstable, especially at higher speeds or under braking, and can lead to dangerous tank-slappers or head shakes. They are a relatively inexpensive repair if caught early, but often overlooked by sellers.
Conclusion: Ride with Confidence
The frame and suspension are the unsung heroes of your motorcycle's performance and safety. While a shiny engine or a low odometer reading might tempt you, remember that compromised structural integrity or worn-out suspension will quickly diminish the joy of riding and potentially put you at risk.
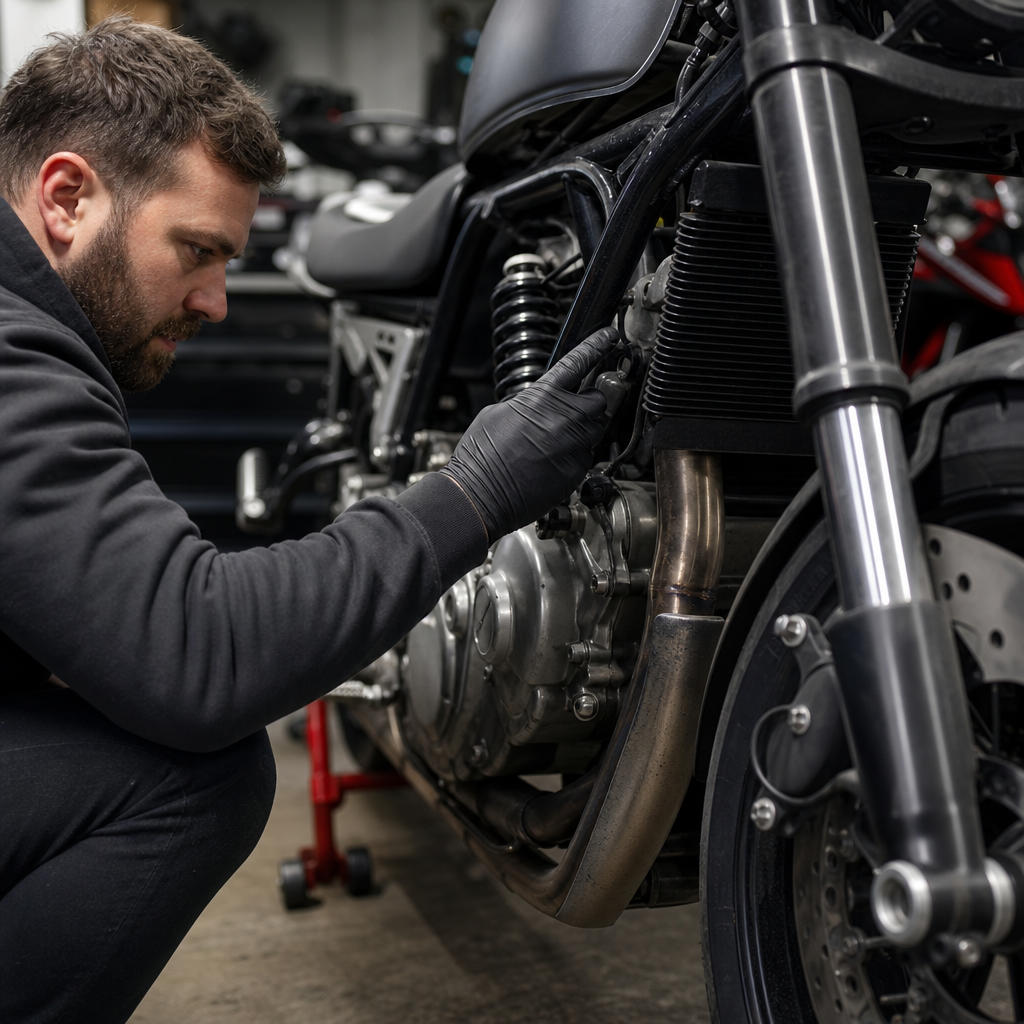
By diligently performing these checks, you'll gain invaluable insight into the true condition of any used motorcycle. Don't be afraid to take your time, ask questions, and if in doubt, bring along a knowledgeable friend or invest in a professional pre-purchase inspection from a reputable mechanic. A little extra effort now can save you a lot of money, heartache, and ensure countless miles of safe and enjoyable riding on your next used bike. Ride smart, ride safe, and happy hunting!