Beyond the Service Book: Essential DIY Checks for Your Used Car Before Its UK MOT
The annual MOT test can be a source of anxiety for many UK motorists, especially those driving a used car. Will it pass? What hidden faults might crop up? While a professional service is invaluable, a surprising number of MOT failures stem from simple issues that you, the car owner, can easily check and rectify at home. These aren't just about passing a test; they’re about ensuring your vehicle is safe, roadworthy, and operating efficiently, ultimately saving you time, money, and stress down the line.
At CarsLink.ai, we believe in empowering you with the knowledge to maintain your used car with confidence. Forget the fear of that red 'fail' certificate; by dedicating a little time to these practical DIY checks, you can significantly increase your chances of sailing through your next MOT. Consider it preventative maintenance, safeguarding both your wallet and your safety.
Illuminate Your Way: Lights, Indicators & Horn
Visibility is paramount on UK roads, and your car's lighting system is its primary means of communication and safe navigation, particularly in our often gloomy weather. MOT testers are rigorous when it comes to illumination, and blown bulbs or faulty indicators are common, yet easily preventable, failure points.
Start by switching on your ignition (you might not need the engine running for all lights, but it ensures power). Systematically work your way through every light on the vehicle. Begin with your headlights: check both dipped beam and main beam. Walk around the car, inspecting the front, sides, and rear. Ensure your front and rear side lights (sometimes called 'parking lights') are functioning. Test your brake lights; this is where a friend comes in handy. Ask them to depress the brake pedal while you check the rear lights. If you're alone, reversing up to a garage door or reflective surface can work wonders.
Don't forget your indicators – front, rear, and the crucial side repeaters – making sure they flash at a consistent rate. If they flash too quickly, it often signals a blown bulb on that circuit. Your hazard warning lights should also be checked. If fitted, test your front and rear fog lights. Finally, ensure your rear number plate lights are working, as these are a common oversight. While checking, also give a quick glance to the condition of the light lenses; cracks or excessive condensation can also lead to an advisory or even a fail. And, of course, a quick blip of the horn – it needs to be loud and clear to warn other road users effectively.
Ground Control: Tyres – Tread, Pressure & Condition
Your tyres are the only contact point between your car and the road, making them critical for safety, handling, and braking. They are also, perhaps unsurprisingly, one of the most common reasons for an MOT failure. Regular inspection of your tyres should be a frequent habit, not just an MOT eve chore.
Firstly, tread depth. The legal minimum in the UK is 1.6mm across the central three-quarters of the tread around the entire circumference. While a dedicated tread depth gauge is best, the '20p coin test' offers a quick visual check: insert a 20p coin into the main grooves of your tyre. If you can see the outer band of the coin, your tread is likely below or very close to the legal limit and needs replacing. Check several points on each tyre, as wear can be uneven.
Next, tyre pressure. Incorrect tyre pressure doesn't just affect handling and safety; it also impacts fuel efficiency and causes uneven wear, which can lead to premature replacement. You'll find the recommended pressures for your specific vehicle on a sticker inside the driver's door jamb, fuel filler flap, or in your owner’s manual. Use a reliable tyre pressure gauge and check them when the tyres are cold. Critically, don't forget to check your spare tyre (if fitted) or verify the expiry date and condition of your tyre repair kit.
Lastly, general condition. Visually inspect the sidewalls and tread for any cuts, bulges, cracks, or embedded objects (like nails or screws). Bulges indicate internal damage and are extremely dangerous, requiring immediate tyre replacement. Uneven wear patterns, such as excessive wear on one edge, can signal underlying issues with wheel alignment or suspension that should be investigated by a mechanic.
The Lifeblood of Your Ride: Fluid Levels & Leak Detection
Just like the human body needs its vital fluids, so too does your car. Checking your vehicle’s fluid levels and looking for leaks are simple tasks that can prevent serious mechanical issues, safeguard your engine, and ensure your braking and visibility systems are performing correctly.
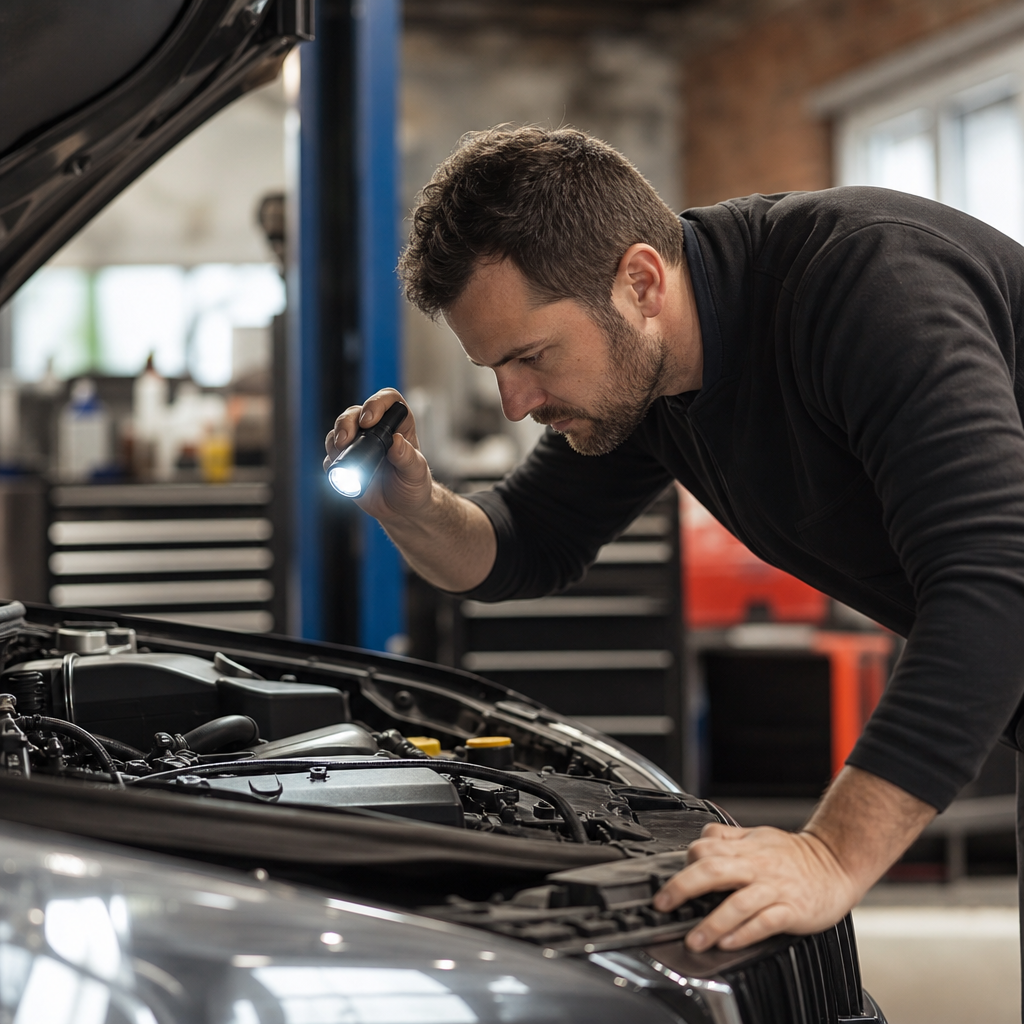
Pop the bonnet and locate the various reservoirs. Start with your engine oil. With the car on level ground and the engine off (and cool, ideally), pull out the dipstick, wipe it clean, reinsert it fully, then pull it out again. The oil level should be between the 'min' and 'max' marks. If it's low, top it up with the correct specification oil for your car. Also, note the oil's colour and consistency; excessively dark, thick, or milky oil can indicate other problems.
Next, coolant. The level should be between the 'min' and 'max' marks on the expansion tank (usually translucent plastic). Never open the cap when the engine is hot, as the system is under pressure. Low coolant can lead to overheating and engine damage.
Check your screenwash reservoir. This is often overlooked but crucial for clear vision, especially during long journeys or adverse weather. It's an easy top-up and uses specific screenwash fluid, not just water.
Finally, check your brake fluid reservoir. This is usually a small, opaque container. The level should be between the markings. A significantly low brake fluid level could indicate a leak in the braking system or worn brake pads, both serious safety concerns. If your car has a power steering system, check its fluid level too, though many modern cars now use electric power steering.
While checking levels, also look for signs of leaks. Get down and peer underneath the car. Fresh stains on your driveway, particularly after the car has been parked overnight, are a red flag. Dark spots might be oil, coloured puddles could be coolant, and a metallic or sweet smell could also indicate a leak. Check all visible hoses for cracks or perishing. Addressing small leaks early can prevent bigger, more expensive problems down the line.
Clear Vision: Windscreen, Wipers & Washers
A clear, unobstructed view of the road is non-negotiable for safe driving, and the MOT test reflects this with stringent checks on your windscreen, wipers, and washers. Even minor damage or poor wiper performance can lead to a failure.
First, thoroughly inspect your windscreen for any chips or cracks. The location and size of damage are critical. The driver's ‘swept area’ (the zone directly in front of the driver, roughly the width of the steering wheel) is particularly sensitive. Any damage larger than 10mm in this zone, or larger than 40mm anywhere else on the windscreen, will typically result in an MOT failure. Even small chips can propagate into larger cracks, especially with temperature changes or impacts, so it's wise to get them repaired professionally as soon as they appear.
Next, activate your wipers. Do they sweep smoothly across the screen, clearing water effectively without leaving streaks or unwiped patches? Check the rubber blades for signs of wear, perishing, or splits. Worn blades are inexpensive to replace and make a significant difference to visibility in wet weather.
Finally, test your washers. Do they spray a sufficient amount of screenwash directly onto the windscreen? Check the jets themselves for blockages; sometimes a fine pin can be used to clear them and adjust their direction. A functioning washer system, combined with good wiper blades, is essential for maintaining clear vision in all conditions.
Secure Your Safety: Seatbelts
Seatbelts are arguably the most vital safety feature in any vehicle, designed to keep occupants secure in the event of a collision. The MOT test includes a thorough inspection of all seatbelts to ensure they are fully functional and free from damage.
Start by pulling each seatbelt out to its full extent. Carefully inspect the webbing for any signs of fraying, cuts, tears, or excessive wear. Even minor damage can compromise the belt's integrity during an impact. The belt should also be free from any twists that could prevent it from retracting properly or distribute force unevenly.
Next, test the buckle mechanism. Each seatbelt should click firmly and securely into its buckle. Try to pull the buckled belt free; it should remain locked. Then, ensure the release button operates smoothly, allowing the belt to disengage without sticking.
Finally, check the retraction mechanism. When unbuckled, the seatbelt should retract smoothly and fully back into its housing. A sluggish or partially retracting belt can be an annoyance and, more importantly, could leave the belt tangled or out of position when needed. Also, give the belt a sharp tug – just like in an emergency stop – to ensure the inertia reel locks as it should. Whilst checking, ensure the seatbelt anchorage points are secure and free from corrosion or damage.
Conclusion
Passing your MOT doesn’t have to be a gamble. By investing a little time in these practical, easily manageable DIY checks, you're not just preparing for a test; you're actively ensuring your used car remains safe, reliable, and roadworthy between professional services. Many MOT failures are for issues you can spot and fix yourself, saving you both the inconvenience of a retest and potentially costly garage labour.
Regular vigilance over these key areas – from your lights and tyres to your fluids, vision, and seatbelts – will not only provide peace of mind but also contribute to the longevity and efficient running of your vehicle. Drive smart, drive safe, and make that MOT a formality, not a fear.